
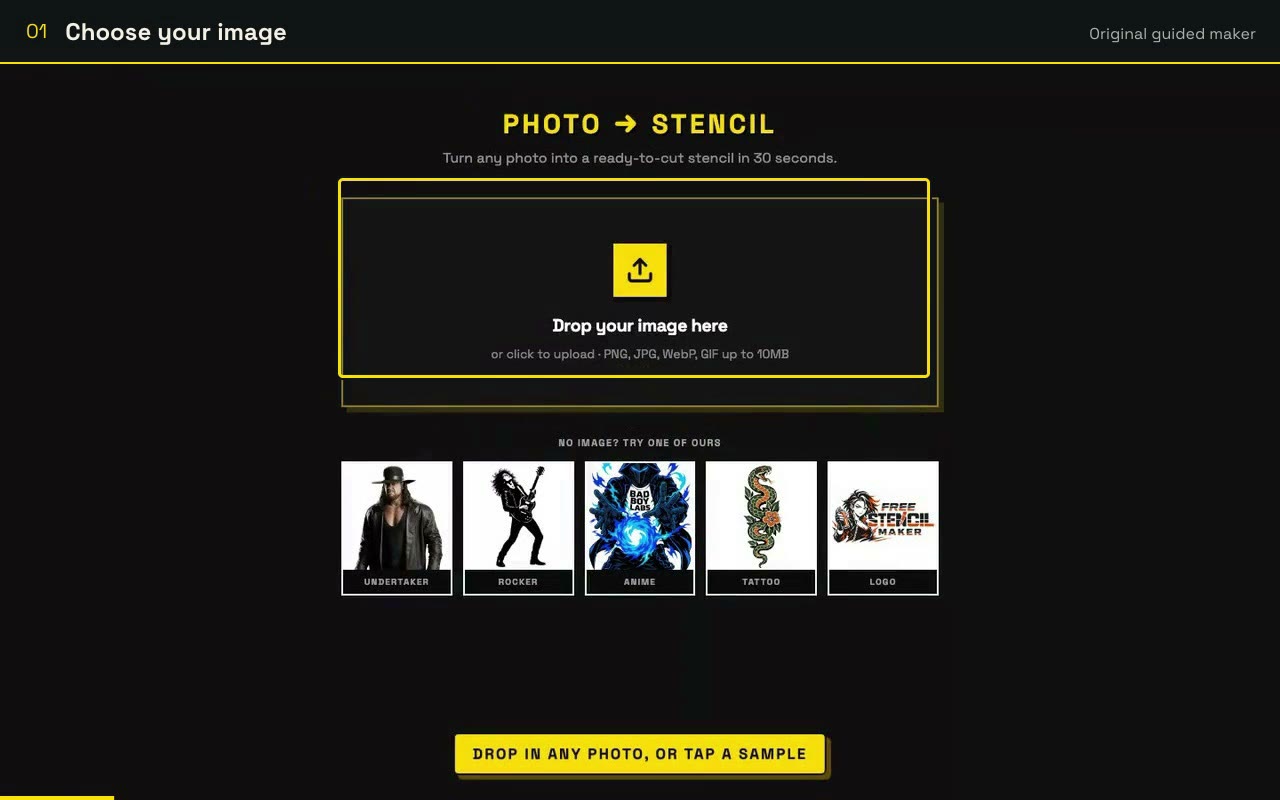
 23 sec · Narrated
Turn a Photo into a Stencil: Upload and Choose a Style
Learn how to upload a photo, choose a stencil style and preview the layers. Watch the short demo and follow the written steps.
Watch lesson and read the steps →Stencil tutorials
Watch the complete narrated walkthrough, or pick a short lesson for the part you need. Every video has written steps you can follow while you create.
 Play full tutorial · 4:48
Start here · Guided beta · With narration
Follow the Undertaker example from image to print. Choose your layers, bridge the loose pieces, explore sizes and formats, then download and print your stencil.
Watch and follow the stepsTen short lessons with narration, captions and highlights. Each names the editor it shows: the original guided maker, classic editor or virtual wall. For the beta designer, start with the full walkthrough above.
23 sec · NarratedLearn how to upload a photo, choose a stencil style and preview the layers. Watch the short demo and follow the written steps.
Watch lesson and read the steps →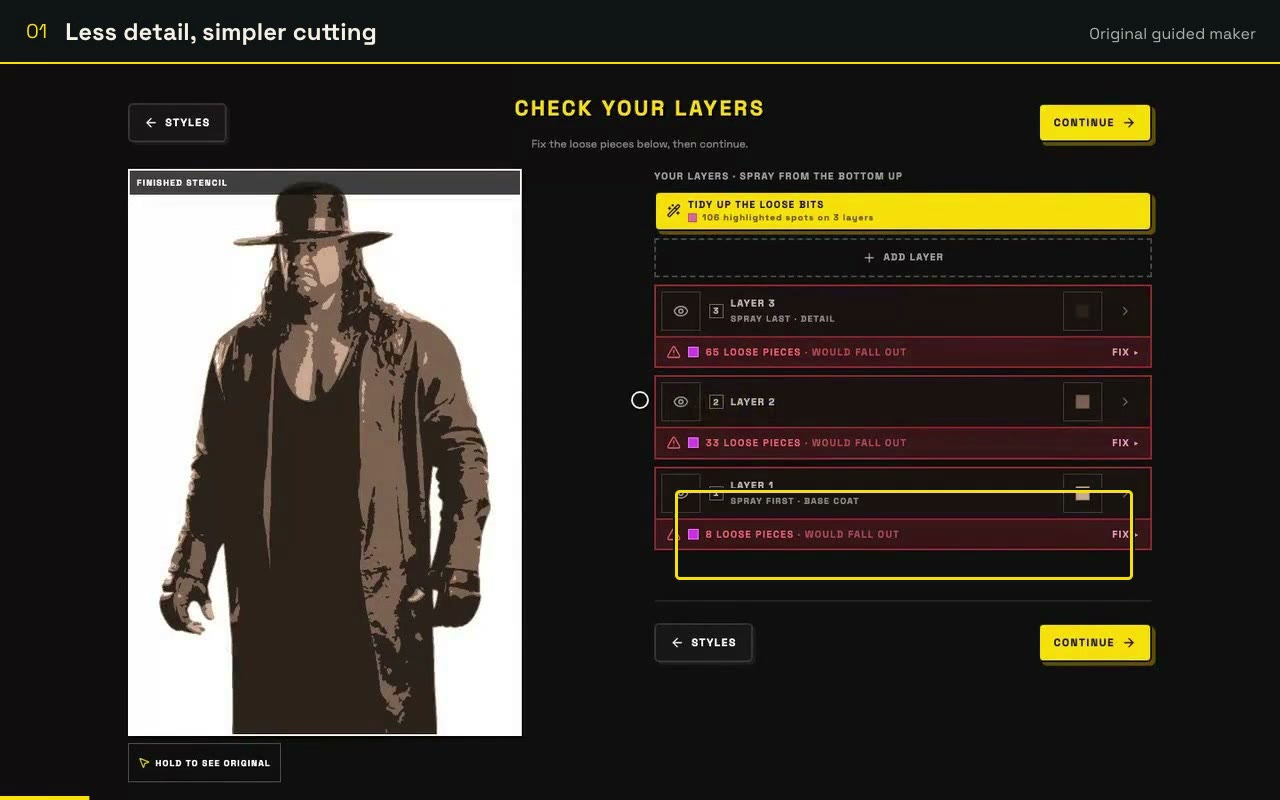 29 sec · Narrated
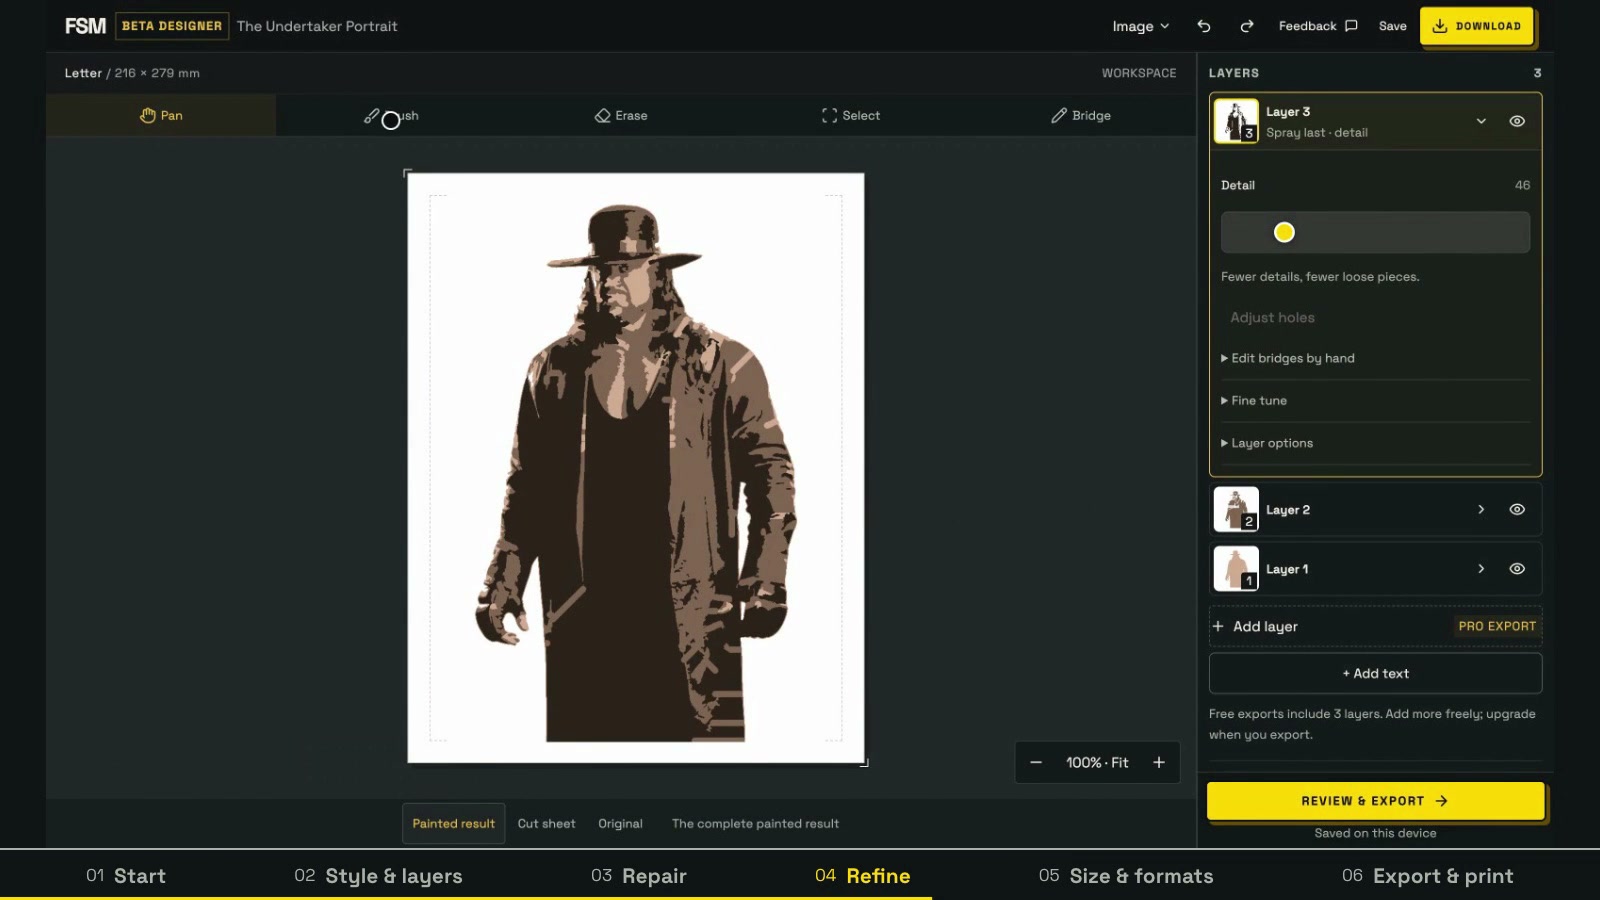
Balance detail and easy cutting in each stencil layer. Follow the video and written steps to adjust the detail slider and compare your photo.
Watch lesson and read the steps →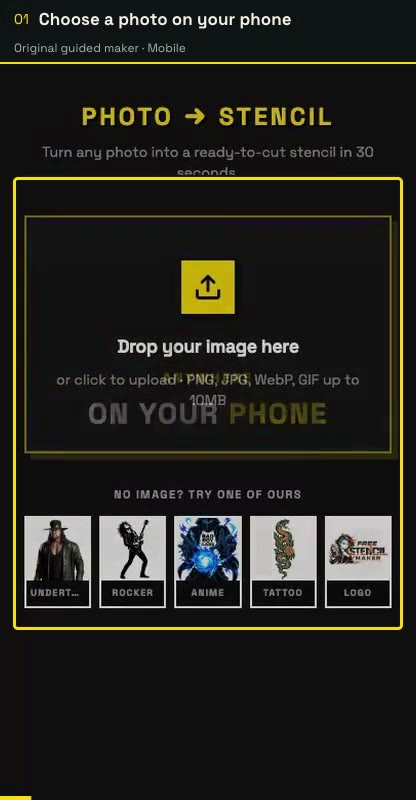 27 sec · Narrated
Create a stencil in your phone browser. Choose a photo, adjust the layers, repair loose pieces and download a printable file.
Watch lesson and read the steps →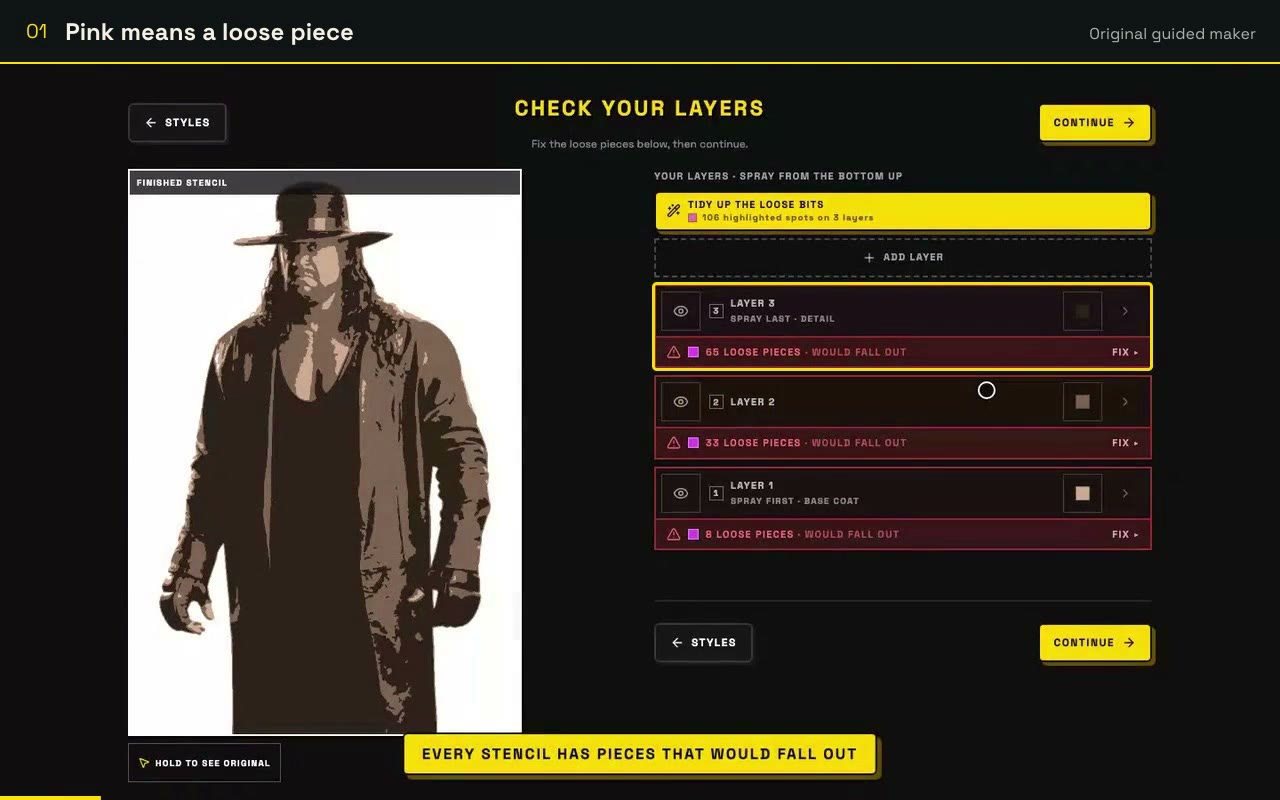 25 sec · Narrated
Stop enclosed shapes falling out of your stencil. Learn what stencil islands are and how to repair them with bridges or touch-up layers.
Watch lesson and read the steps →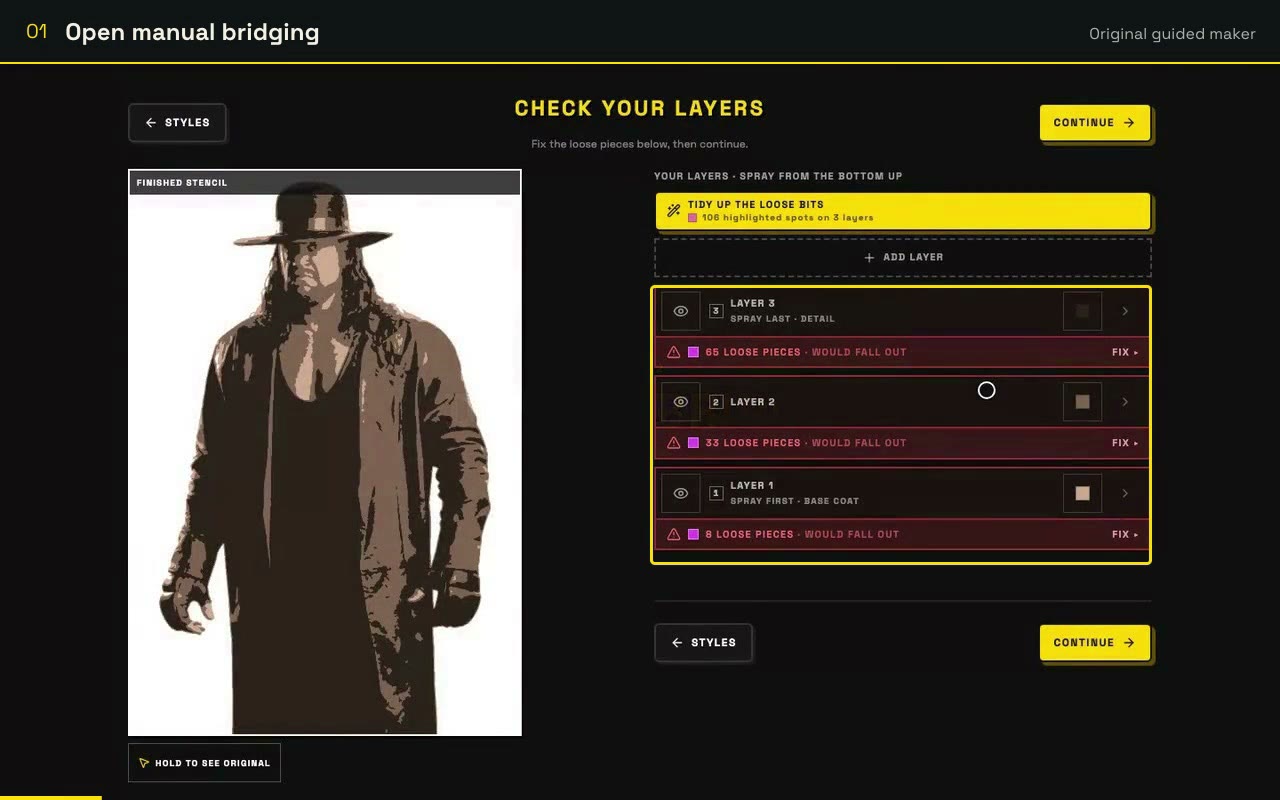 25 sec · Narrated
Place stencil bridges where they suit your artwork. Watch how to connect loose pieces to the sheet and use Undo to adjust the result.
Watch lesson and read the steps →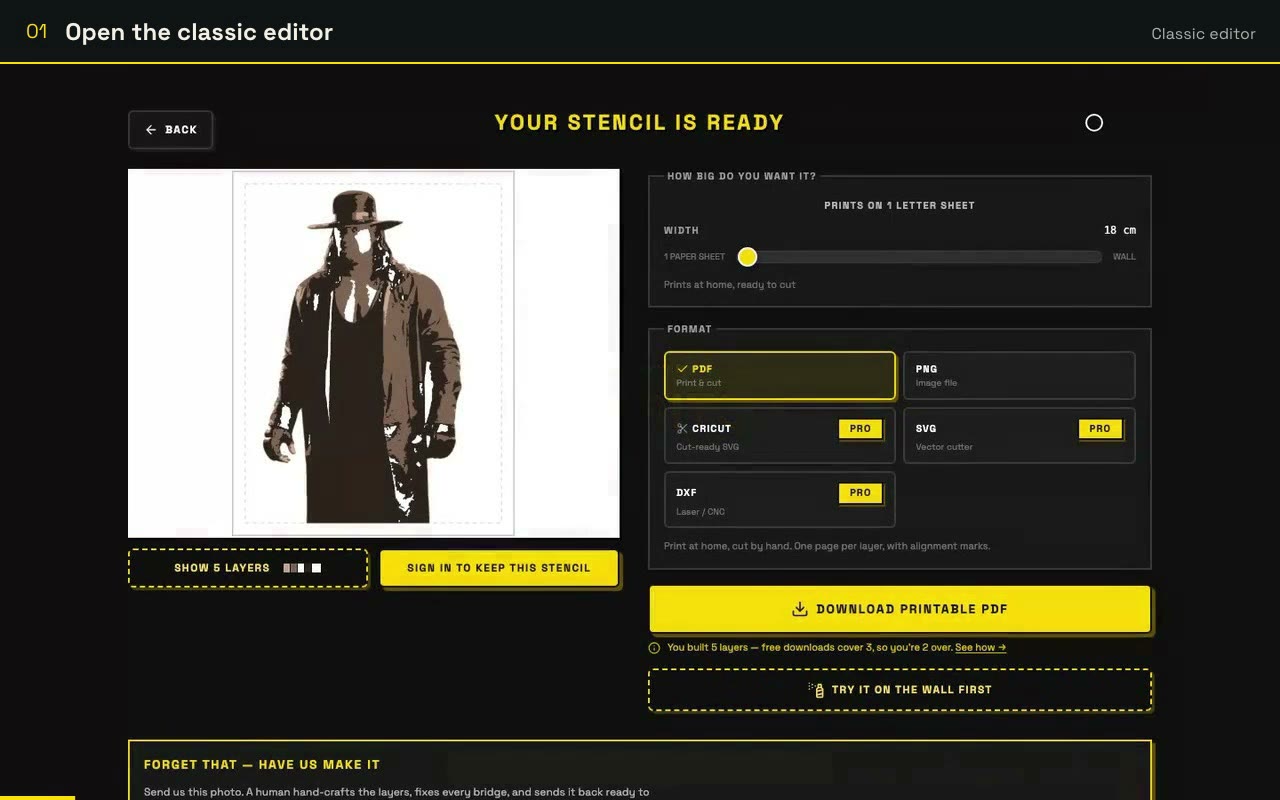 34 sec · Narrated
Clean up a stencil with brush, eraser, selection and bridge tools. Follow a short editor demo with practical steps for removing unwanted detail.
Watch lesson and read the steps →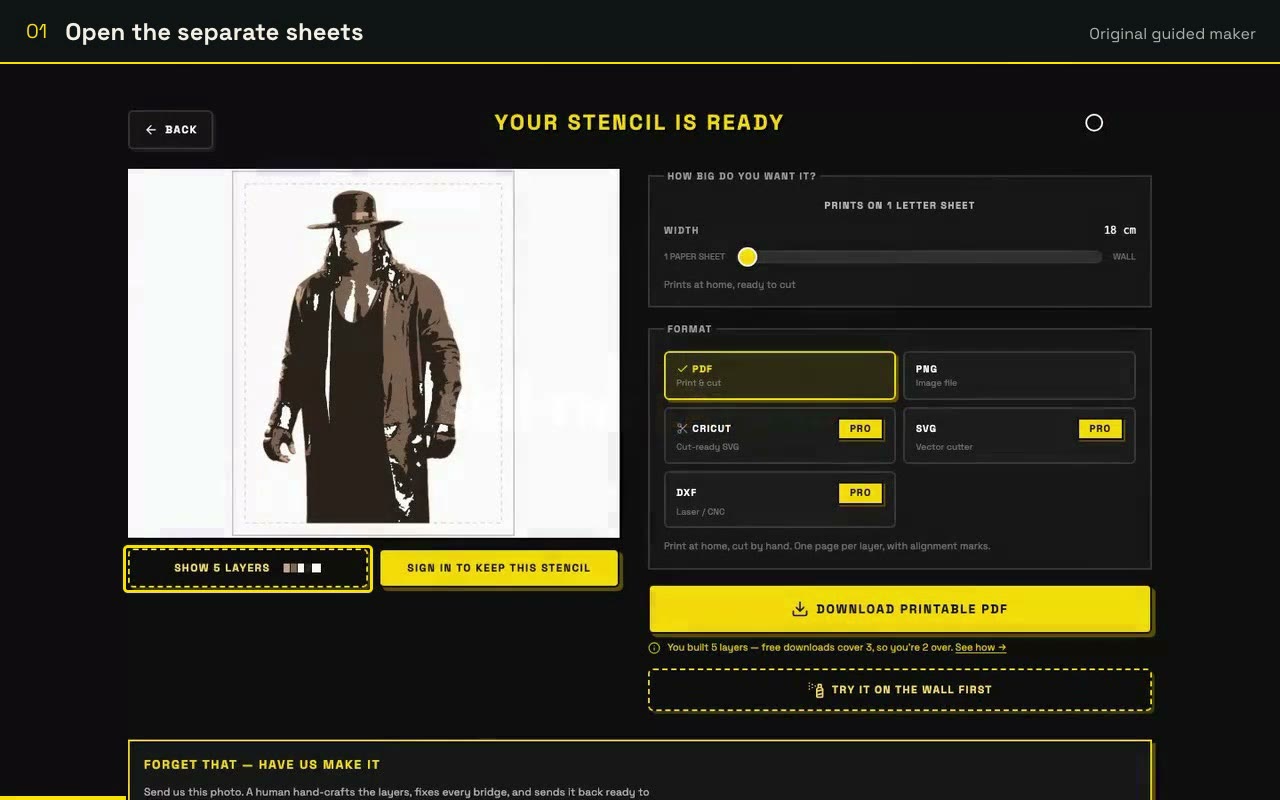 20 sec · Narrated
See what each stencil sheet adds before you print. Preview the separate layers, check the base coat and plan the order of your paint passes.
Watch lesson and read the steps →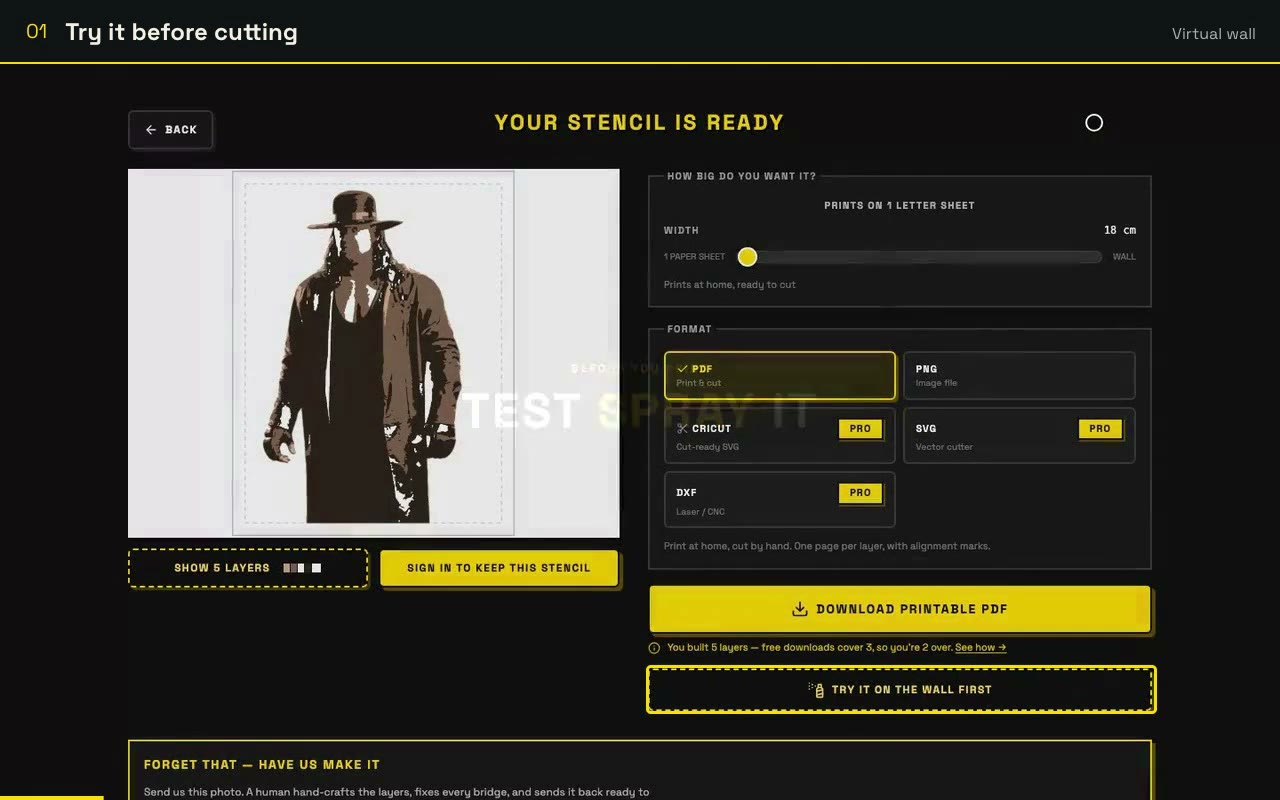 25 sec · Narrated
Preview your stencil on a virtual wall before cutting. Choose paint colours and spray each layer to see the finished image build up.
Watch lesson and read the steps →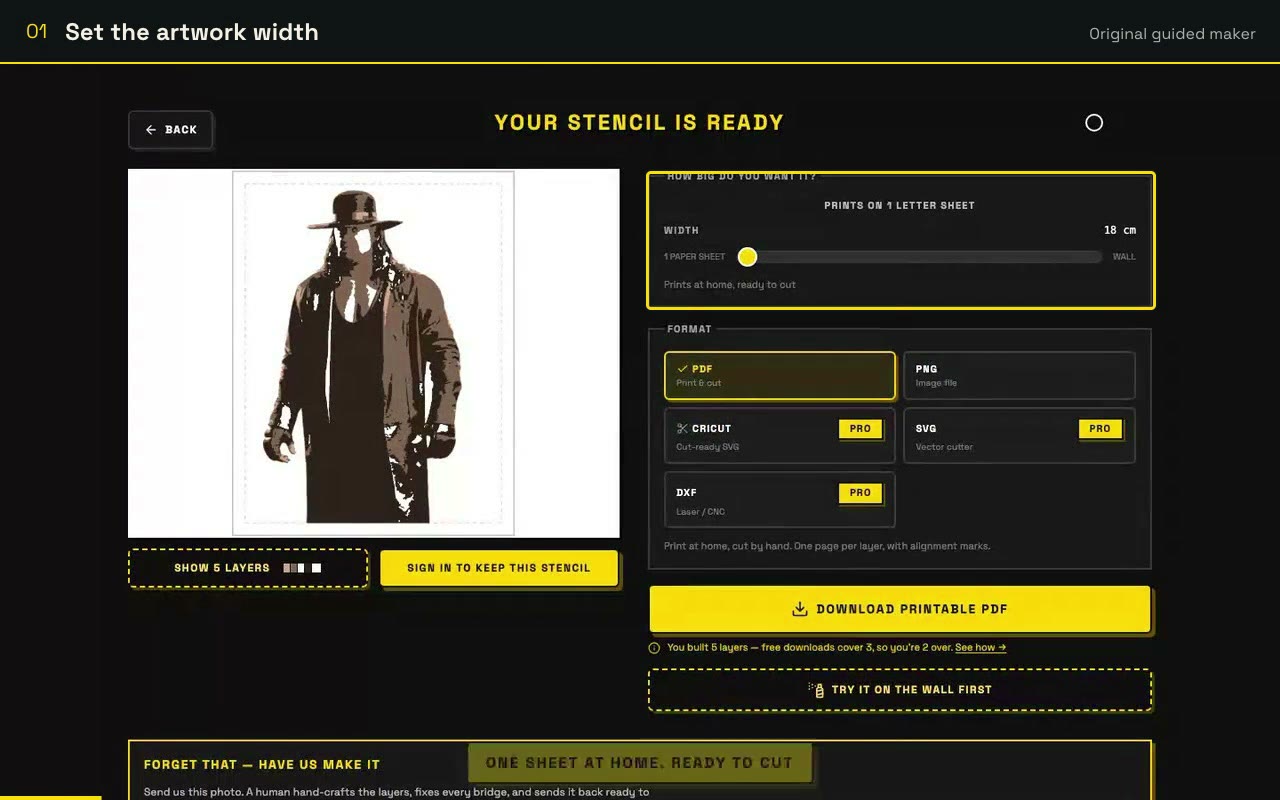 25 sec · Narrated
Make a wall-sized stencil from A4 or Letter sheets. Set the artwork width, check the page count and print at actual size for accurate alignment.
Watch lesson and read the steps →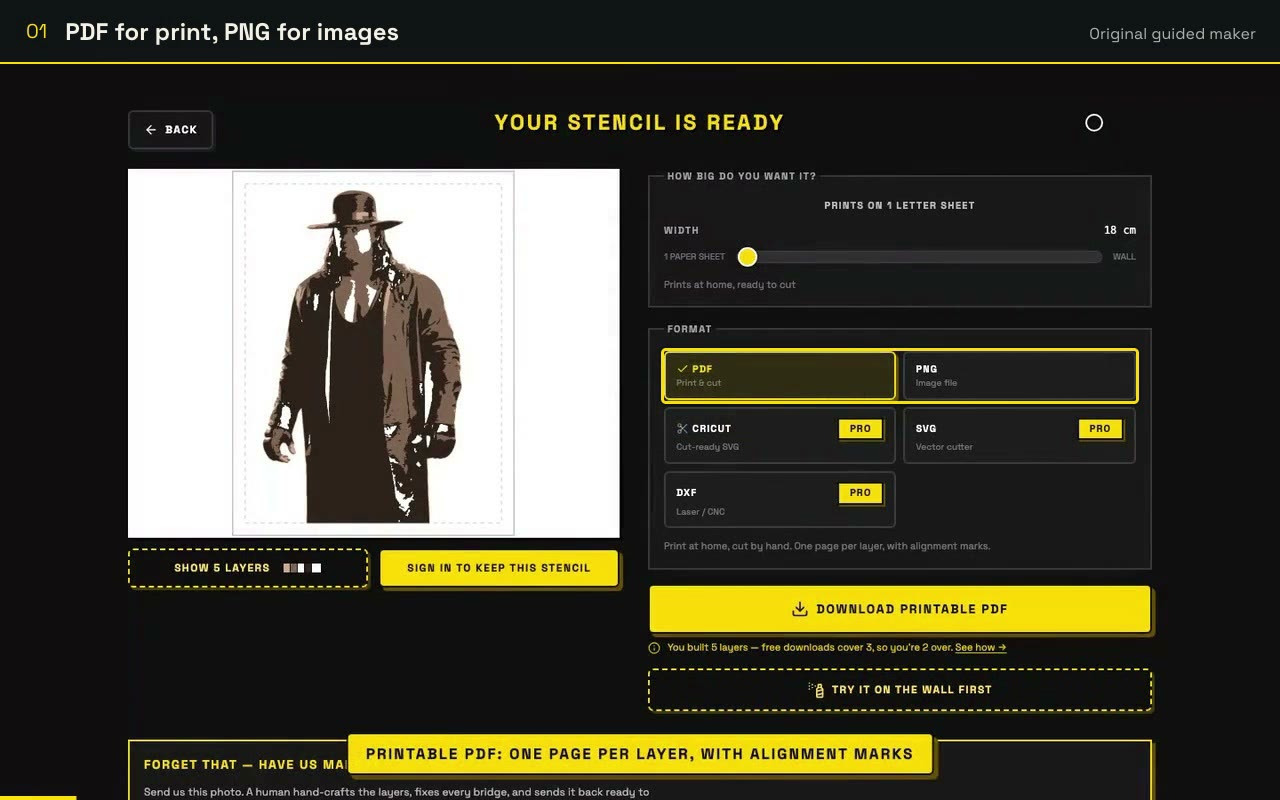 34 sec · Narrated
Choose the right stencil file for hand cutting or a machine. Compare PDF, PNG, SVG, DXF and Cricut exports and keep your layers aligned.
Watch lesson and read the steps →Three is the sweet spot for a first stencil: it gives you shadow, midtone and highlight without much cutting. Portraits usually read well at four or five. Beyond six you are cutting for hours and the extra layers rarely show once the paint is on.
Those are islands: shapes fully enclosed by a cut line, like the middle of a letter O or the gap inside a pair of glasses. With nothing holding them, they drop out when you cut. The maker highlights loose pieces in pink and offers automatic fixes. You can also draw bridges yourself to hold them to the surrounding sheet.
Yes. Export as SVG or the Cricut file for a Cricut, Silhouette or other vinyl cutter, and as DXF for a laser cutter. Both are true vector files, so they cut at any size without going soft. For hand cutting with a craft knife, export a PDF instead.
High contrast with a clear outline. Portraits with side lighting, pets against a plain wall, logos and lettering all slice cleanly. Photos where the subject and the background are similar shades give the slicer edges it cannot separate, so crop in tight or pick a different shot.
Yes. You can start making a stencil without an account, adjust and repair the layers, and download up to three layers free. Tiled wall-sized printing and the vector formats for cutting machines are part of the paid plan.
Keep the alignment marks switched on when you export. Every layer prints the same small registration crosses in the same position, so you line the marks up on your surface before taping each sheet down. Spray bottom up, lightest colour first, and let each layer dry before the next.